The printer says they need a .25-inch bleed…
When working with our clients on graphic design projects, a question we commonly hear is, “The printer says they need a .25-inch bleed. What does that mean?” The different printer lingo and jargon can be confusing if you’re not in the design or print world. This question is a pretty easy one though. “Bleed” is a pretty simple concept to understand. Once it’s understood, the print process makes a whole lot more sense.
What Does Bleed Mean in Graphic Design?
In graphic design and printing, bleed refers to artwork that extends past the final size of the printed piece. It is kind of like a little extra background, color, or imagery that is added around the outside edges of the designed piece.
While this is often just as small as .125 or .25 inches, the bleed plays a key role in printing. When a project is printed, it’s most commonly printed on a larger sheet of paper and then trimmed down to the final size. Even with the most precise equipment available, paper can shift and move around during the cutting process. Even the slightest shift could be noticeable or ruin the printed piece. If the design ends exactly at the trim line, when the cut is off by even a hair, it would result in white lines around the edges. When printed that way, even a thin, hair-width line of white will look like it’s a full inch wide.
That’s where Bleed steps in to save the project. Having bleed around the edges ensures your design prints edge to edge, even if the cut is off by the tiniest amount.
Why Bleed Matters for Your Printed Materials
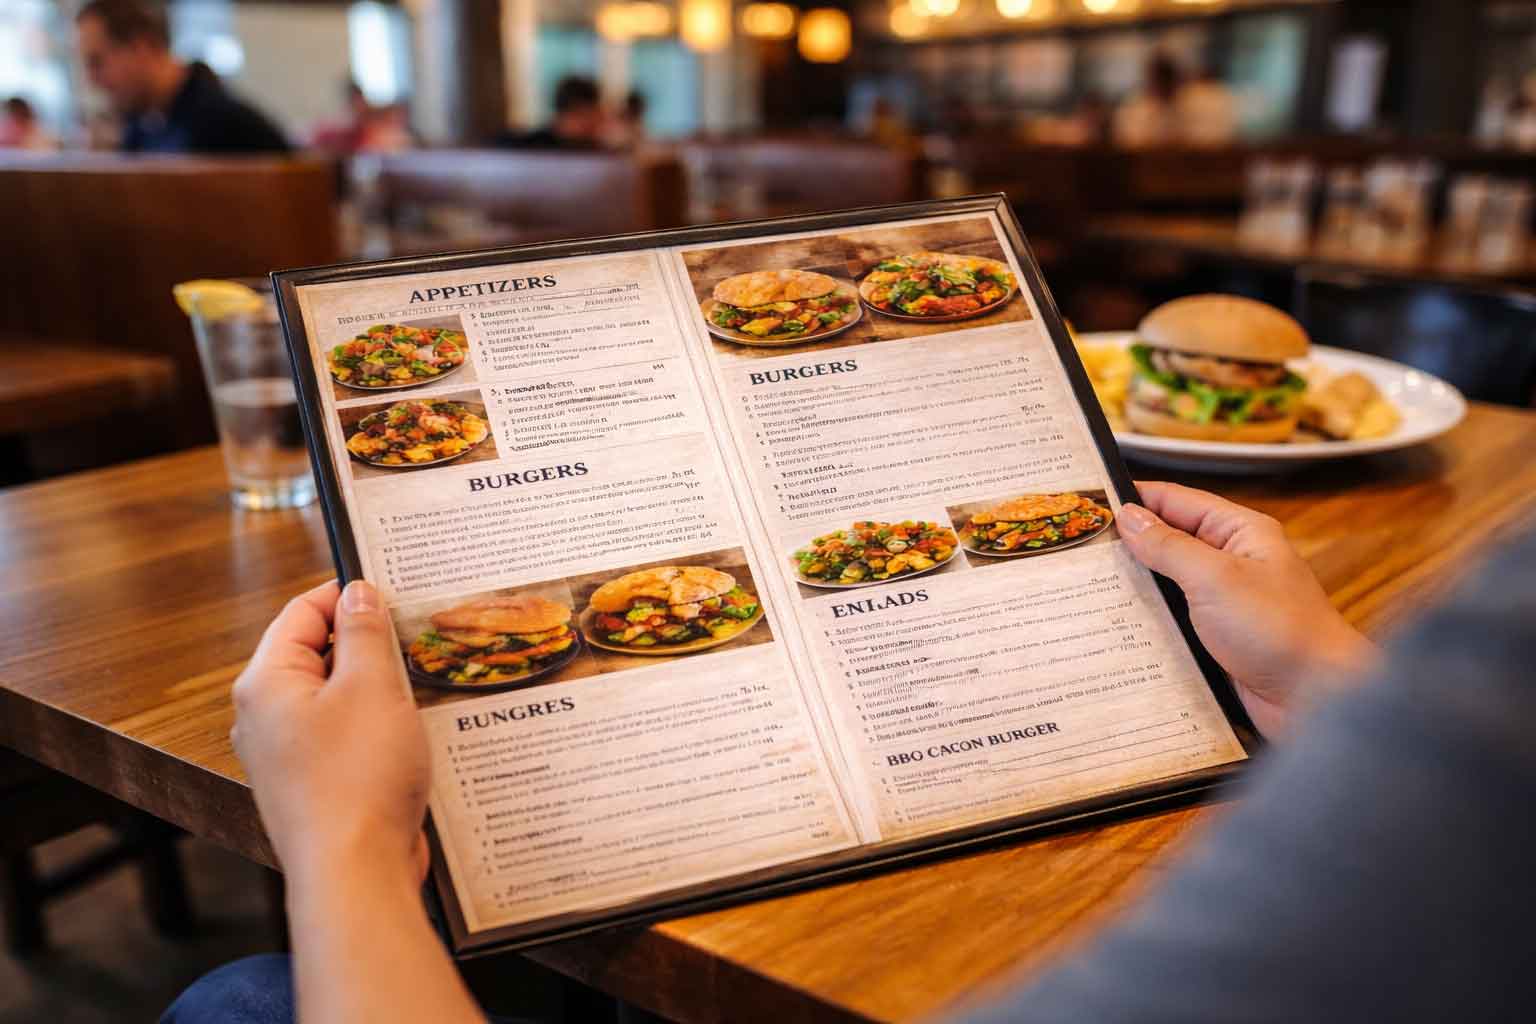
If you have ever ordered business cards, postcards, brochures, rack cards, or any other printed piece, you know how important the edges are. A clean edge makes everything feel sharp and polished. Even simple designs look better when the color or background goes all the way to the edge.
Without bleed, that clean look disappears. You might see thin white slivers on one or more sides. Those little lines instantly make a piece look unfinished. It is amazing how fast that happens. Bleed is what prevents it. It gives the printer a little extra room to work with so the final trimmed piece looks exactly how you pictured it.
For many small businesses, printed materials are one of the first interactions someone has with your brand. A missed detail like this can take away from an otherwise great design. Bleed helps make sure your print project leaves the right impression.
How Much Bleed Do You Actually Need
Most printers ask for either .125 inches or .25 inches of bleed. Each printer is a little different, which is why they will specify exactly what they want. The measurement you hear is simply the amount your design needs to extend past the final size on each side.
If a printer requests a .25 inch bleed, your design will need an extra quarter inch added around the outside. It will not show in the final piece once it is trimmed. It is only there to make sure the finished cut looks consistent and professional.
Bleed, Trim, and Safe Zone
Bleed is only one part of how a print file is set up. There are two other terms you will often hear: trim and safe zone.
The trim line is the line where the printer will cut the project down to size. The safe zone is the area inside the design where important information should stay. Text, logos, and key details should not get too close to the trim line. Keeping them in the safe zone protects them from being cut off.
Think of it as three layers of space. The bleed sits on the outside, the trim line marks the actual size, and the safe zone sits inside that. When all three are set properly, everything turns out the way it should.
How Full Scope Creative Makes This Easy
Most small business owners do not want to worry about print setup. And they should not have to. When we create print projects, we always build them to match the exact requirements the printer provides. If they need .25 inch bleed, crop marks, or a specific export setting, we take care of it.
We also check the trim line and safe zone to make sure the design will print correctly. The goal is to keep the process simple for you. You get a file that is ready for the printer and you avoid the stress that usually comes along with file prep.
Common Bleed Mistakes We See
There are a few problems that come up again and again. Many designs are created at the final size with no bleed at all. Others have backgrounds or photos that do not extend past the trim line. Sometimes text is placed too close to the edge. Another common mistake is exporting a PDF without including bleed.
These issues are easy to correct once you know what to look for. And they are even easier to avoid when the file is set up the right way from the beginning.
A Small Detail That Makes a Big Difference
Bleed might seem like a small detail, but it plays an important role in the overall look of your printed piece. It helps create a clean and consistent edge that makes the design look intentional and professional.
If you have a print project coming up and want to be sure everything is set up correctly, we would be happy to help. Let us know what you are working on and we can get it ready for your printer.